
How to export projects in ChibiStudio
Introduction
This article is a step-by-step guide on how to export a working project from ChibiStudio.
The main goal is to zip and share a project with someone knowing that they will be able to use it on their own machine. This guide assumes you have a working project in your Project Explorer.
Step by step procedure
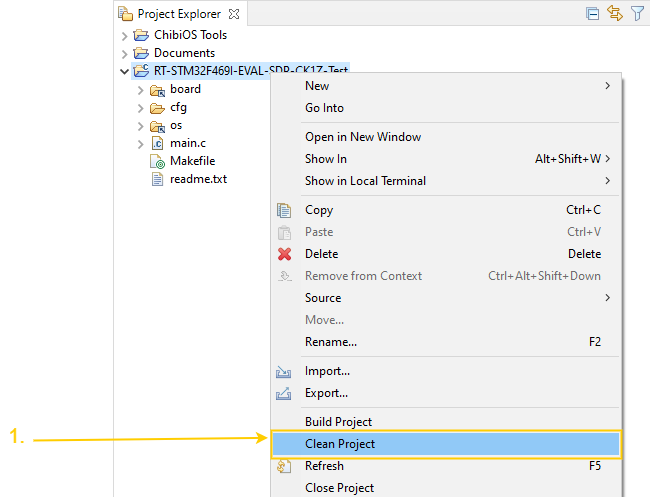
Cleaning the project
- Right click on the project and select Clean Project
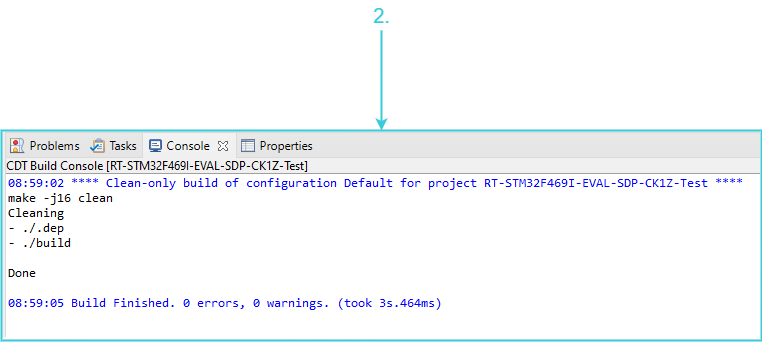
- Check the console when the cleaning task is completed
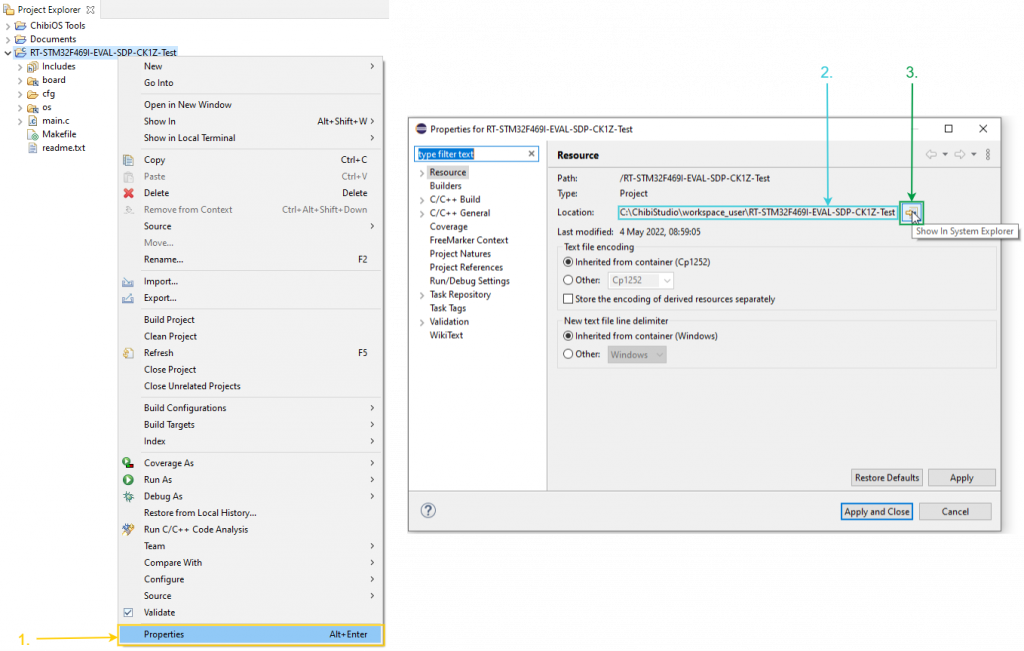
Locate the project in Windows explorer
- Right click on the project (or Alt+Enter) to open Properties window
- Check project path under Location
- Click Show in System Explorer to directly access the folder
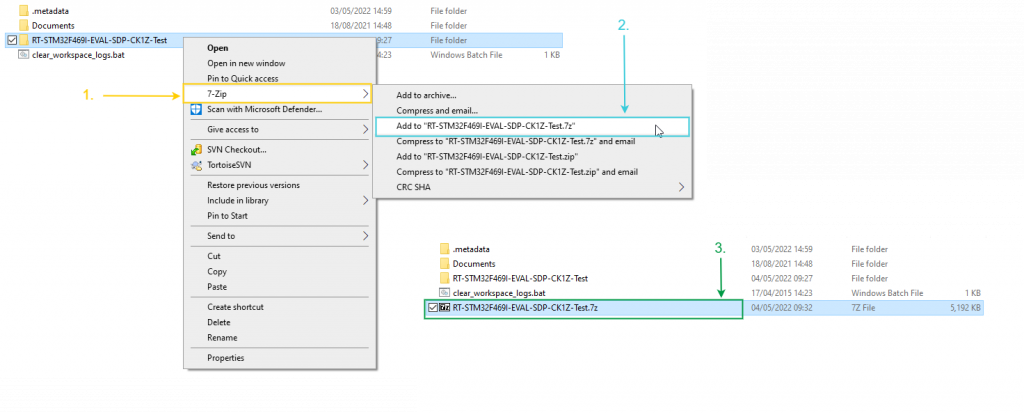
Compressing and sharing
- Right click on the project folder and select 7-zip
- Choose Add to RT-STM32F469I-EVAL-SDP-CK1Z-Test.7z
- Project is ready to be shared
Now, to use this package on another ChibiStudio it is necessary to unpack the demo in the default Workspace folder and import it in ChibiStudio
Sharing the binary only
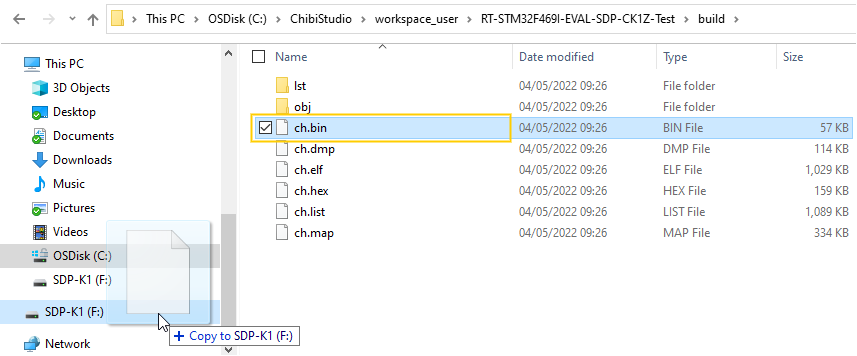
It is possible to export the project without sharing your source code and potentially valuable IP. In this case you should only share the firmware as a binary file. Once your project is built, you can find the binary file in the build folder typically called ch.bin.
This file can be flashed on your microcontroller using a debugger or a bootloader. If you are using the SDP-K1 the easiest way is to drag and drop ch.bin or ch.hex onto the driver named SDP-K1 that appears in This PC when you connect the evaluation board to your PC.
Be the first to reply at How to export projects in ChibiStudio